|
This page is aimed at artists like me who do not live in a large metropolitan area, work a real job during the day, and need more space to work. It seems that this is a very common problem. I have not seen many pages on the web detailing the construction of an art studio so I decided to roughly chronicle my experience for the good of fellow artists in a similar situation.
After seven years of using a small extra bedroom as my studio, I finally decided to do something about the lack of working space. Unfortunately, there is a lack of studio space in the area I live and the limited available space is very expensive. You also have to factor in gas money and painting time lost while traveling back and forth to the studio. After doing the math, I decided that it would be a far better decision in the long run to construct my own detached studio in my backyard. The payments on a small loan work out to be much lower than the cost of renting a space and you cant beat the travel time to a building right outside your back door. An added financial bonus is the fact that the building will actually gain value as the years go by. Instead of throwing your money away on rented space, you are investing in something you will hopefully get your money back out of when you sell. Finally, working out of the house means a return to oil painting and other media that have been off limits do to the lingering odors associated with them.
To start the project, I first contacted all of the necessary officials. I live in a suburban neighborhood with restrictions, so that meant getting permission from my homeowners association. I also contacted the county about any needed building permits. Shockingly, I did not need to have any permits or inspections for constructing a single story building less than 500 square feet. You may not be so lucky. The letter from the HOA took almost two months to get. When it finally came and I went to the bank. A few weeks later, my loan was secure and I began the real work.
In my case the first order of business was moving an existing storage shed. This was done by putting the building on rollers and using a come-along type winch to pull it to our drive through gate. Once there, a tow truck came and moved it over to my sisters house
no sense wasting a usable building after all.
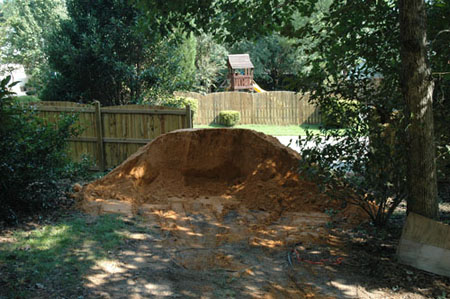
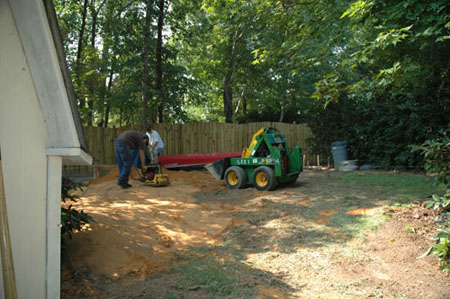
The next thing that needed to happen was bringing in fill dirt to prepare the sub foundation. About 88 tons of sand clay mix was brought to the build site. All of that dirt had to be moved in and packed down with rented machinery. I hope that should you decided to build a studio that you choose a flat piece of land to do so. The grading part of the job was NOT fun work.
I also had to have a tree removed before continuing. All of the delays from waiting on third parties to do things like tree removal and working mostly on weekends make it seem like the process takes forever. Ill warn you; this project is not for the instant gratification crowd. Decide about how long you think it will take to complete a task and then multiply that by three.
The next step in the process was pouring the slab foundation. Where I live you dont really need anything more than a 4 thick slab. Up north, you may need 48 or more deep footings and a floating slab. Check on your local zoning before you start because all of that concrete is going add a lot to the total cost of the building. Once the slab was down and cured for a few days, I snapped chalk lines marking where to drill holes for concrete anchors and the inside of the walls. I used the 3-4-5 triangle technique to make sure I had square lines to start with. I also sprayed a clear lacquer over the chalk lines to make the chalk lines weather proof during the construction process.
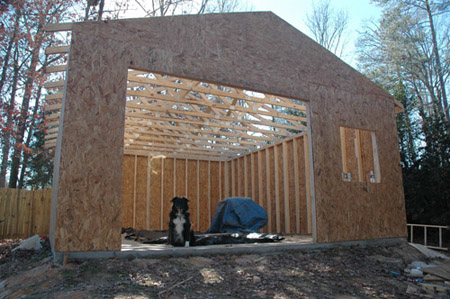
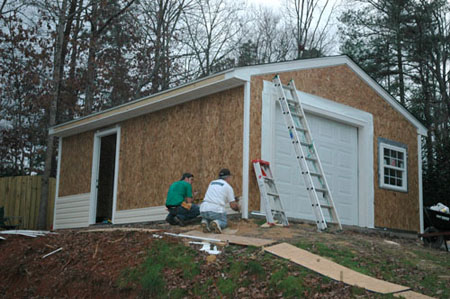
Construction of the walls began the first weekend of December. I cant tell you how good it felt after months of working and waiting to see something vertical go up on that slab. In one weekend I had three walls framed up despite rainy weather and a half day on Sunday. The second weekend I put up the last wall which largely consisted of the rough opening for the roll up garage door and installed the trusses. I had lots of help from my friends and family for truss day.
on to Roofing...
|